Once upon a time, there weren’t any styles that I felt the need to avoid (or to pursue) to highlight or downplay any particular portion of my shape. I believe firmly in body-positivity at all sizes and portions of one’s journey, and can appreciate that a couple quick pointers can change an outfit from right for my body to ALL WRONG!

Admittedly, it makes me chuckle just a tad that I would be invited to talk about bust and waistlines (from my fabulous cohosts shared below) – I mean what do I know about providing guidance about how to best fit your bust or how to accent your waistline, I’m no trained seamstress… But then again, for the past two years (gahhh – has it been that long??), I have been steadily building a working knowledge on what has worked for me, and I hope that at least SOME of it is helpful to you to! Honestly – before I started sewing, I would find that things didn’t work (either because they didn’t fit or were overall unflattering), and only now am I beginning to understand why!
First things first (Pattern Information)
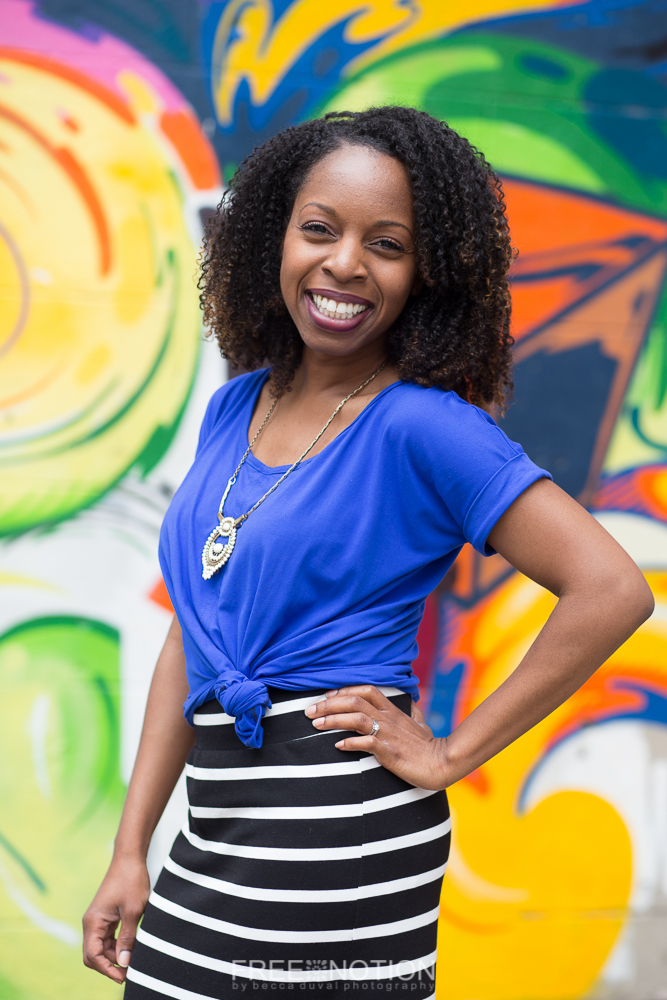
For reference, I wrote a post about my size and standard adjustments here. I am wearing my Hey June Santa Fe Top (previously blogged here), and my Love Notions Sybil Pencil Skirt (affiliate link).
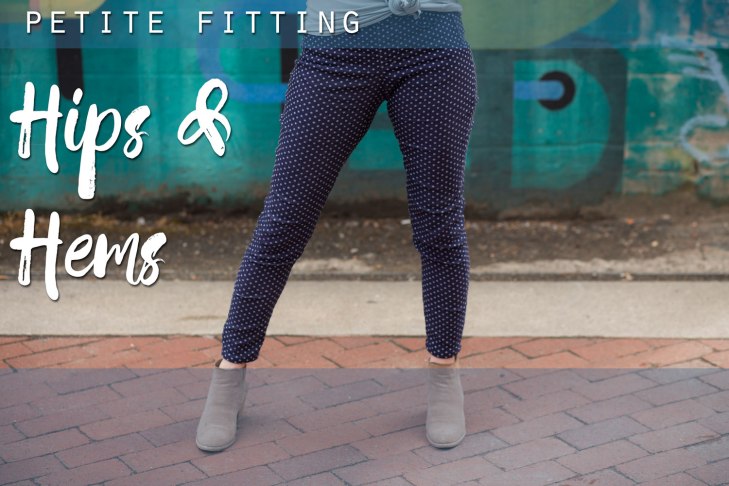
Tip #1: Balance your upper and lower body – fabric and cut make a difference!
I love that wearing stripes on the bottom, draws your eye downward helping to balance my bust size. For me, I am larger on top than I am on the bottom, so I try to balance my bust size with strong colors and details on my bottom half to widen my limited hips (for those of you with the opposite gift, I would recommend using this advice with caution).
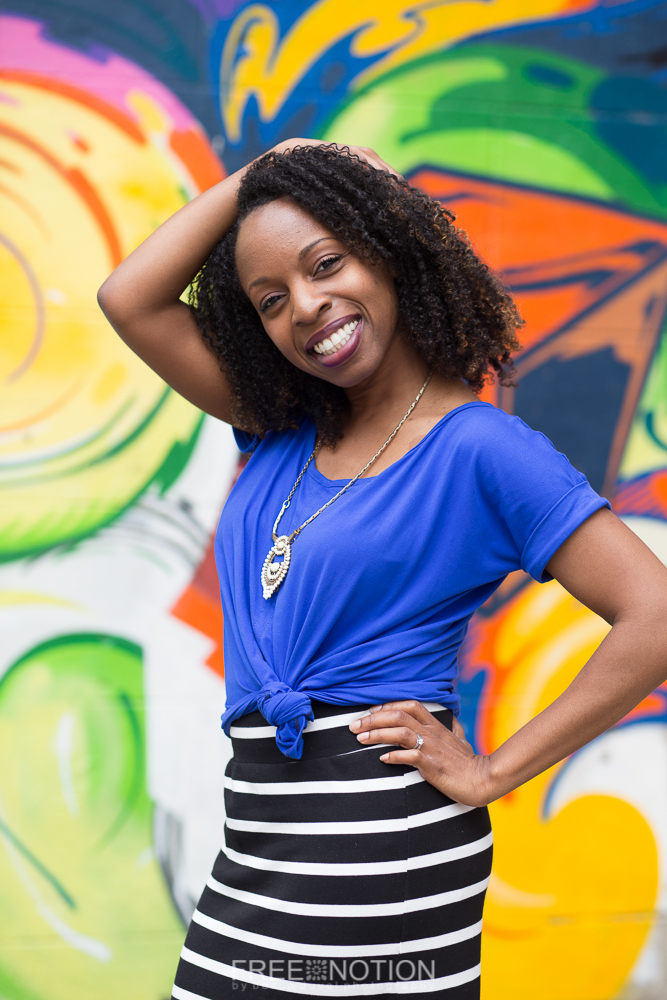
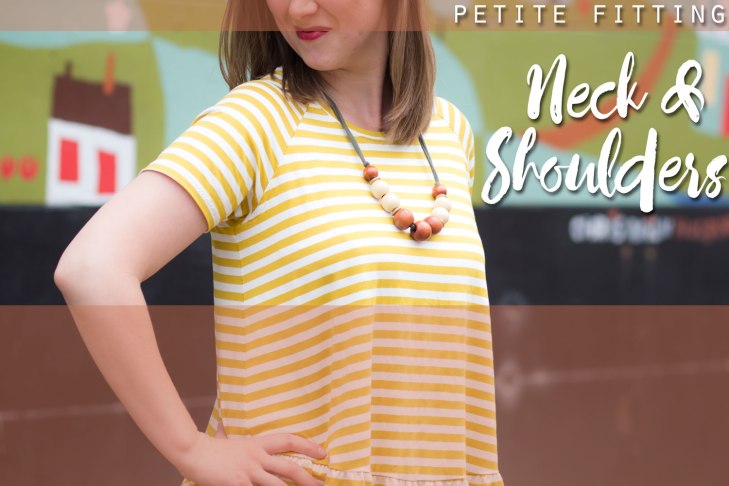
Tip #2: It’s counterintuitive to accent a waist when you lack an hour-glass figure, but a well fit garment will always make you look slimmer!
I typically have to complete a full-bust adjustment (see this tutorial), but did not on this shirt because it has plenty of ease (a technical term for the difference between your measurement and the garment’s measurement at the same point). Instead, to give a shirt that is loose and casual a more fitted look, I tied it at the top of my skirt (which is just about in the middle of my high-hip and natural waist level for me, given my short torso).
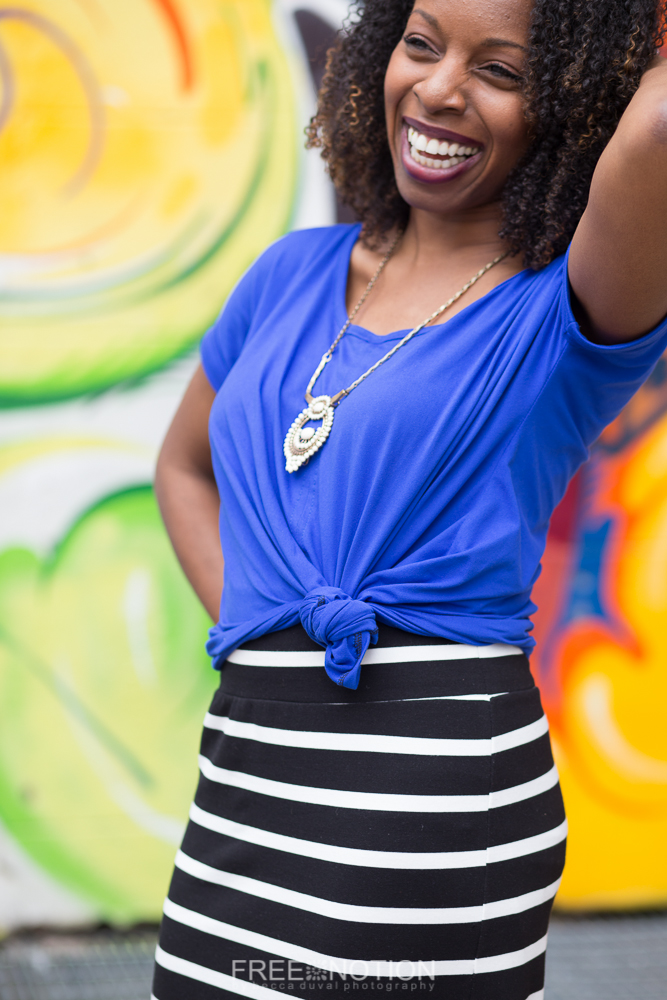
Tip #3: Make your clothes serve double-duty
Another trick I will use is to sew high-waisted bottoms (pants and skirts with waistbands that cover my now very much “outie” belly button), that serve two purposes: (1) I can wear a shirt at any length and still have coverage (or sit and still have coverage – you all know what I mean by that); and, (2) the firmness in the waistband typically provides some stability to that area of my body (think spanx or powermesh) without the hassle (or cost!).
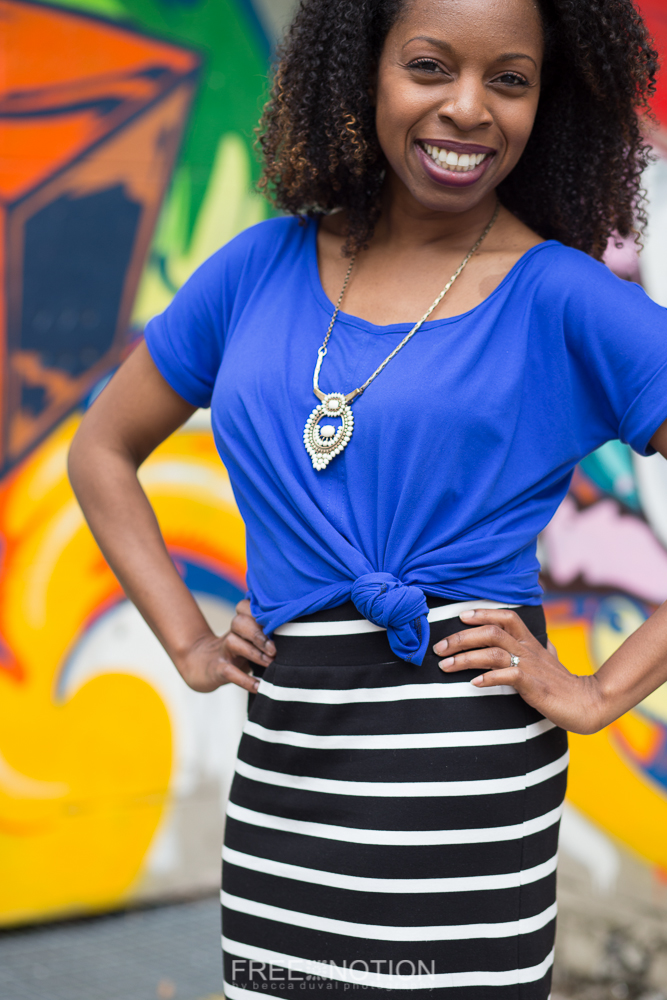
Give it a go
I hope you will attempt a true full-bust adjustment if you haven’t done one before, or attempt the tied shirt/high-waist bottoms trick at some point – its a great way to feel pulled together with very little effort!

For more tips (and/or more pictures) – check out my FABULOUS cohosts (both of whom are more established bloggers and seamstresses than I), Holli and Becca:
Their makes, and tips, are fantastic, and should help you think through both fit and styling!
Happy fitting,
Mac

Great post! Balancing a heavy top with bold colors and patterns on bottom is a great tip.
LikeLike
Thanks, Katie! I’m no pro – but its what seems to work for me!
LikeLike
Great recommendations Mac! I’ve been loving the tied waist tops. They give me the illusion of a waist, even though there isn’t much difference between my underbust waist and high hips.
LikeLike
Thanks – I have been loving them too (and haven’t tried them since high school — MAYBE college, lol). Thanks for stopping by! 🙂
LikeLike
I love how your Sante Fe Top looks tied in a knot. I would have never thought to do that! I’ll have to try that out! Loved reading your tips!
LikeLike
Awesome – I think you would look too cute in it, Kimberly!
LikeLike